Pages

Wednesday, November 23, 2011

Apple Butter Kolacky and Baby Blue Heron

Remember the Crockpot Apple Butter I made this past summer and canned up?  Well, I decided to try using it for the holiday kolacky recipe and it is Fabulous!  Very simple to make and these are gobbled up in no time ... I am tempted to make more!  The dough used is simply 3 ounces of cream cheese, 1/2 cup butter, softened and 1 cup flour.  You can add a teaspoon of sugar to the mixture if you want a sweeter taste, but the Apple Butter is sweet enough and the dough offsets the overload of sweetness so it is definitely a winning combination.
I combined the three ingredients for the dough and chilled overnight in the refrigerator.  Then rolled it out on a floured surface and used a small glass to cut out the circles.  Took a spoonful of Apple Butter and added to each circle.
Closed up the dough and crimped it (some did open up during cooking) so make sure you have a good connection there.  Baked in the oven for 10-12 minutes at 350 degrees until a toasty brown color and sprinkled with powdered sugar.  After they cooled I hid them in the pantry until Thanksgiving dessert time .... Good thinkin'!
We did have another visitor today out by the lake and what is interesting about this guy is ... it is actually a Juvenile Great Blue Heron.  I captured pictures of an adult earlier in the year and I noticed the difference after studying these pictures.
I consulted our bird book and it explains that the Juvenile looks much like the adult but has more brown than gray with a black crown and no plumes.    That is definitely this baby!
I hope to  enjoy watching this Baby as it matures into a Great Blue Heron!

Monday, November 21, 2011

Hooded Merganser Sighting

Well today I was having trouble with the internet and took some time to glance out the window a few more times than normal ... something I used to do a whole lot more before I got internet connected and this is what I saw ....

A pair of Hooded Mergansers
The pictures are a bit fuzzy since I was inside and I do need to spend some time learning the right adjustments for outdoor photo taking.  You can see the female has a brown crest hood whereas the male is black and white.  It was really amazing to watch them float around and I am thinking it was a gentle reminder to Enjoy Nature.  I have never seen these birds before and feel real lucky to have been able to capture a few photos right in my backyard.

Thank goodness the internet was acting up today and I didn't miss this remarkable sighting as it floated right before me!  How Awesome is that!

Sunday, November 20, 2011

The Holiday Season has Arrived!

Thanksgiving is this week and it sure crept up on us!  The gardens are all put to bed for the year although some garlic sprouts are peeking up from the ground and hopefully will rest easy during the winter season.  This will be our first year at this home during the winter and we hope we will remain sane.  We have found a brisk hourly walk in town that we try to do a few times a week.  I know I will have no problem with the solitude out in the country especially since I do have my trusty internet and have been working earnestly on my new Etsy shop.  This is the main reason for lack of posting on the blog since I wanted to make sure I was all set before the holidays arrived.  In the short time I have been working on the shop I have sold 3 listings and am very happy with that!  With my most recent listing I decided to offer Personalized fabric heart ornaments and am holding my breath to see how that works out.
Also a Treasury called Make it Personal with items from other shops that can be personalized for some great holiday gift giving.

Besides scoping out all the Teams and forums on the Etsy website and just trying to take it all in, I also created a group on Facebook.  This group is growing and has a great set of like-minded shop owners supporting and sharing...everyone is welcome to join us at Handmade Shops.  An additional blog has also been started HotPadHangout to focus specifically on my new shop and talk about promoting and marketing online.

So with the holidays here I am forced to take some time off and enjoy Family.  My daughter is coming to stay for a day on Tuesday when classes end and my sister-in-law and family will be joining us for the entire weekend starting Wednesday.  So as I enjoy family time and reflect on all I have to be thankful for, I will let my mind focus on my future plans and work on my mission statement.  I know without a doubt my key interests are HomeGrown, HomeCooked and HomeCrafted .... where I am headed we have yet to see but I am sure it will be enjoyable.

p.s.  I will miss you Mom and Dad and look forward to visiting some time around Christmas!  

Happy Thanksgiving Everyone ... Enjoy!!


Wednesday, November 9, 2011

Cookie Delight

Chocolate Chip with Toffee Bits


Thursday, October 20, 2011

Tweet Tweet Birdseed Ornaments

Birdseed Ornaments
A Fun and an Easy project for Everyone!
The first step in this project is to cut out designs with cookie cutters from bread.   We did make a trip to town today to pick up a few things including the bread and traveling down the road by our home I had a small "stop and stare" moment (actually it was more like 5 minutes).  Of course, I didn't have my camera and am still shaking my head at me for that.   I spotted a deer ahead in the road and slowed down - she ran off to the left, but then out emerged 3 others - it appeared 2 were smaller and one a little larger - all baby deer.   They just stood there in the middle of the road looking at us - all three of them for a good 5 minutes.   I was nuts since it was such a Kodak moment with no camera!!!   It was Beautiful!
Back to the birdseed ornaments for another much loved nature creature ... the birds!   Take the cutout bread designs and brush them heavily with egg whites and dip in birdseed.  This is a bit messy since that egg white has a mind of its own!  I brushed it again after the seed was on and then flipped and did it to the other side.

I baked these in the oven at 350 degrees for about 10 minutes .. watch carefully since this goes fast.  I did insert the piece of wire before I baked and added the ribbon once out of the oven.
I hung them outside around the bird feeding station and as I sit and type this I anxiously await ...with camera beside me (this time) to capture that Kodak moment.

Tuesday, October 18, 2011

Squirrel Time!


Make sure to stop by and check out all the other Great Photos at Wordless Wednesday HQ!


Monday, October 17, 2011

Canning Sweet and Sour Relish

I was a bit reluctant to make this recipe simply because the combination of ingredients didn't seem to blend in my mind.  Once I tasted it, I was convinced it was worth the time and effort to make.   The sweetness coupled with the sour note is a taste I do like and this relish captures it perfectly.
The recipe I used is from my Ball's Blue Book of Preserving and I did tweek it a bit only because that's what I had on hand....plenty of peppers first off.   The recipe calls for 4 cups finely chopped sweet green peppers - I had a whole lot of Marconi peppers.   I actually like the Marconi better than the typical Green pepper since it has a milder taste and no bitterness to it at all.   So I diced up 4 cups of the green Marconi and 1 cup of the red Marconi (substituted for the 1 cup of banana pepper called for in the recipe).
Diced tiny since this is a relish and I saved the seeds as I do with most produce from the garden for planting next year.   Pepper seeds are easy to save - you just let them dry out and store away ... nothing special to do to them.
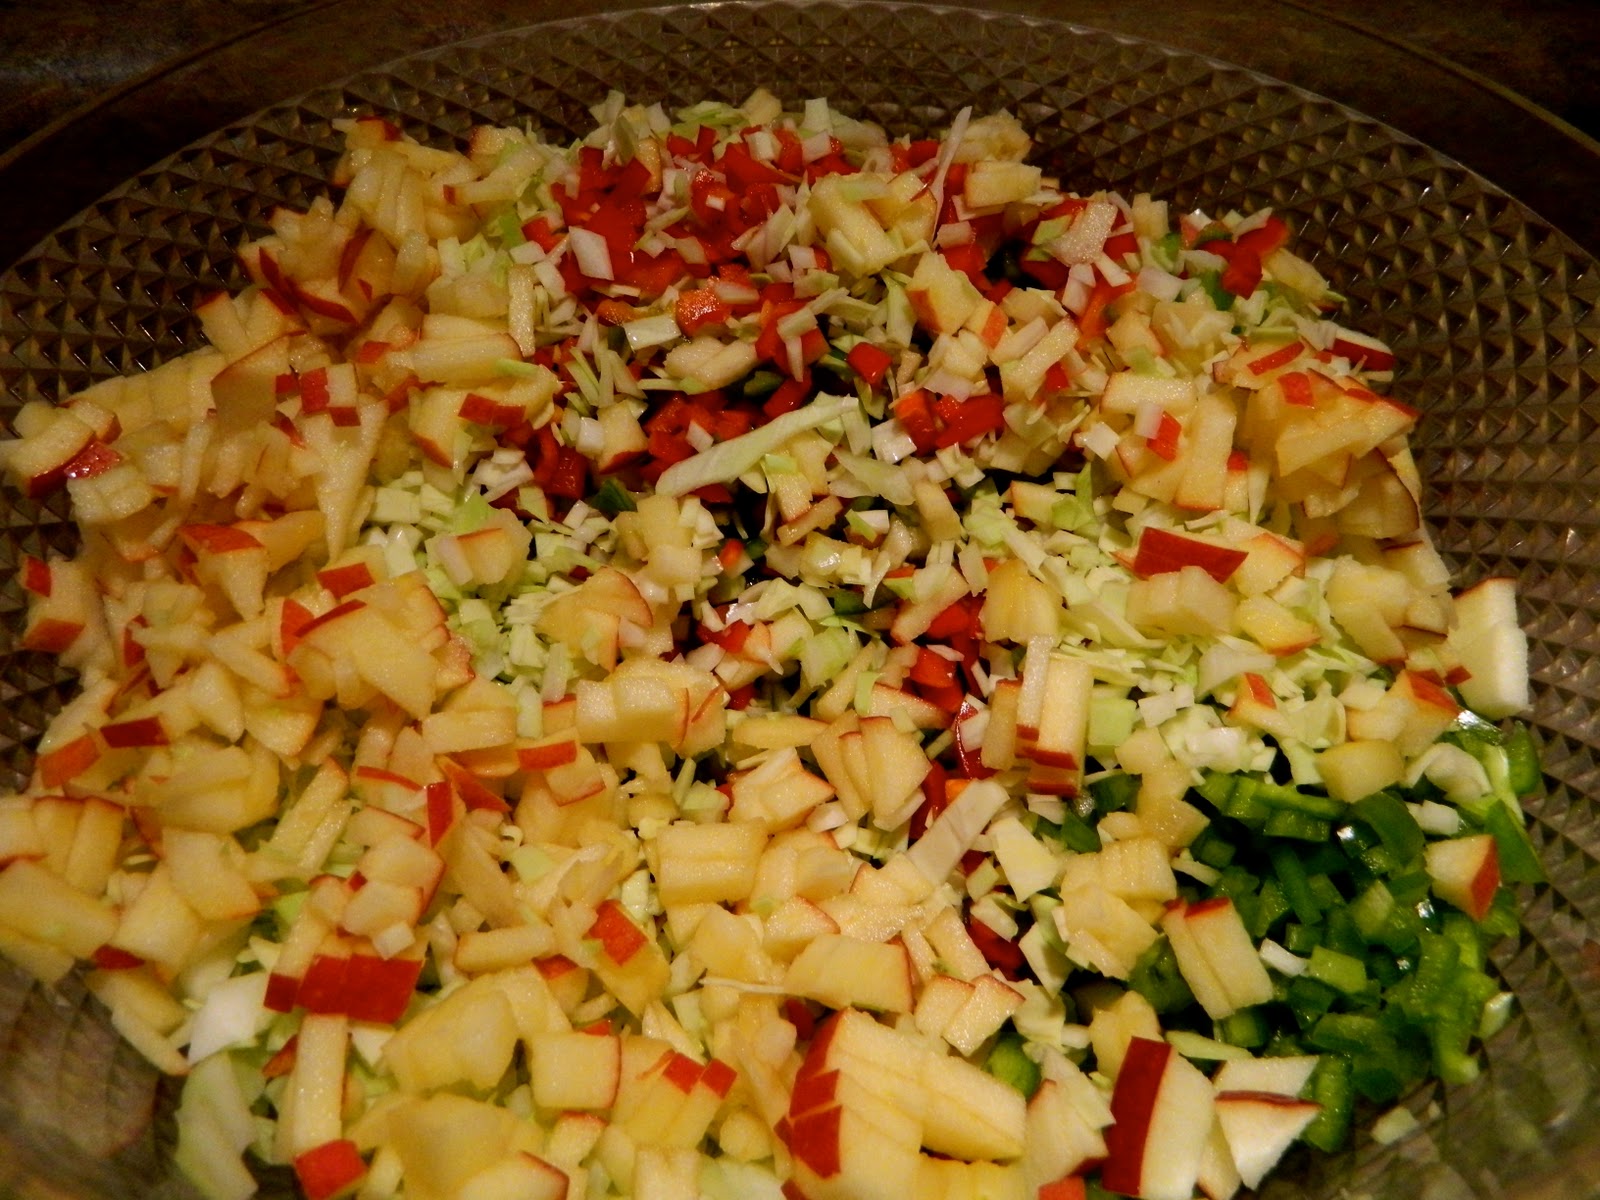
I then added more diced ingredients - 3 cups of apples and 2 cups of cabbage ... see what I mean about the combination here.   Added 2 tablespoons of salt and let sit for 2 hours (which was a relief after all that dicing)!   After 2 hours I drained the liquid.
Next step was to create the brew or flavored liquid for canning.   I cut the sugar from 3 cups to 2 cups which seemed fine ... all that sugar just makes me shiver.   Ok ... 2 cups of sugar combined with 1 teaspoon mustard seed and 3 cups cider vinegar.  A hot pepper is optional and can be slit to release the flavor but removed before canning.   Bring this brew to a boil, reduce heat and add all the diced veggies. Simmer for 10 minutes before packing into your canning jars, leaving 1/4 inch headspace.   Process in the boiling-water canner for 10 minutes.   I plan to make up another batch - since I still have a ton of peppers - and this time make it hotter for those who like Hot!   I do recommend this recipe!
Back to the saving seeds ... here are dried Sunflowers and as you can see the seeds form in the center of the flower.   The petals fall off and contained in the middle are the seed.   These are the Cinnamon Sun variety and seems like I have thousands so the birds will be happy this winter when I set out a little feast for them.   I really don't think I need thousands of Sunflowers, but then again, I may change my mind.